Understanding Google's Veo 3 AI Video Generator Workflow

Table of Contents
Understanding the Veo 3 Interface and Setup
Navigating the Veo 3 interface is intuitive, even for beginners in AI video editing. The key components are clearly laid out, making project creation a breeze. The initial setup involves a straightforward account creation process. Once logged in, you can start a new project and import your assets.
Here's a step-by-step guide to getting started:
- Account Creation: Sign up for a Veo 3 account using your Google credentials or email address.
- Project Setup: Create a new project by giving it a descriptive name and selecting the desired aspect ratio (e.g., 16:9 for widescreen).
- Asset Import: Upload your images, videos, and audio files. Veo 3 supports a variety of common file formats, ensuring compatibility with most existing media libraries. Remember to optimize your assets for the best results – higher resolution generally leads to better AI processing.
Keywords: Veo 3 interface, Veo 3 setup, AI video editor, project creation, asset import.
Creating Your Video Script and Content
A well-structured script is crucial for effective AI video generation. Veo 3 allows for different approaches: you can write your script directly within the platform, upload a pre-written text file, or even use a voice-to-video approach by inputting a voice recording or a transcript.
Consider these scriptwriting tips for optimal results:
- Keep it Concise: Focus on clear, concise language. Veo 3's AI works best with well-defined sentences and paragraphs.
- Visual Storytelling: Think visually! Describe the scenes and imagery you want the AI to generate, enhancing the text-to-video capabilities.
- Natural Language: Write in a natural and engaging style to make the final video more appealing to your audience.
Keywords: Veo 3 script writing, AI video script, video content creation, text-to-video, voice-to-video.
Utilizing Veo 3's AI-Powered Features
Veo 3 boasts a range of powerful AI features designed to streamline your video production. Automatic scene detection intelligently breaks down your script into distinct scenes, while style selection lets you choose from various aesthetic options, influencing the overall look and feel. The text-to-speech function converts your script into realistic-sounding voiceovers.
Here are some examples of how these AI features can be combined:
- Scene Detection + Style Selection: Automatically create scenes with a consistent visual style, maintaining a cohesive aesthetic.
- Text-to-Speech + Music Integration: Combine a professional-sounding voiceover with carefully chosen background music for an engaging audio experience.
- Automatic Editing + Manual Refinement: Let the AI handle the initial edits, then use Veo 3's editing tools to further customize and personalize the video.
Keywords: AI video features, Veo 3 AI features, automatic video editing, AI scene detection, text-to-speech, style transfer.
Customizing and Editing Your Video
While Veo 3 handles much of the heavy lifting, you retain full control over the final product. After the AI has generated the video, you can refine it using various customization options. Add transitions between scenes, incorporate background music, and insert special effects to enhance the video’s overall impact. Veo 3 also provides tools for more manual adjustments, allowing for fine-tuning of individual elements.
Customize your video by:
- Adding Transitions: Choose from a variety of smooth transitions to create a professional-looking flow between scenes.
- Integrating Music: Select royalty-free music tracks to match the mood and tone of your video.
- Applying Effects: Add subtle effects like filters and color grading to improve the video's visual appeal.
Keywords: Veo 3 video editing, AI video customization, video post-production, video transitions, video effects.
Exporting and Sharing Your Finished Video
Once you're happy with your video, export it in your desired format and resolution. Veo 3 supports various options, allowing you to optimize the video for different platforms. Consider the target platform when selecting settings – YouTube might require different settings than Instagram or TikTok.
Export and share your video with these steps:
- Choose your format: Select MP4 for widespread compatibility.
- Select your resolution: Choose a resolution appropriate for your target platform (e.g., 1080p for high-quality viewing).
- Optimize for platform: Consider compression settings based on your platform.
- Share directly: Veo 3 may offer direct sharing options to social media.
Keywords: Veo 3 export, video export settings, video sharing, video optimization.
Conclusion: Mastering the Google Veo 3 AI Video Generator Workflow for Success
Mastering the Google Veo 3 AI Video Generator workflow involves understanding its interface, crafting compelling scripts, leveraging its AI features, customizing your video, and finally, exporting and sharing your creation. By following these steps, you can significantly boost your video production efficiency and create high-quality videos with ease. Optimize your video workflow with Veo 3 and experience the power of AI-driven video creation. Learn more about Google's Veo 3 AI video generator and start streamlining your video production today! [Link to Veo 3 platform (if available)]
Featured Posts
-
 Europe Car Sales Decline Economic Headwinds Impact Consumer Spending
May 28, 2025
Europe Car Sales Decline Economic Headwinds Impact Consumer Spending
May 28, 2025 -
 Padres Vs Astros Match Preview And Prediction
May 28, 2025
Padres Vs Astros Match Preview And Prediction
May 28, 2025 -
 Leaving The Us For Germany A Story Of Unexpected Regret
May 28, 2025
Leaving The Us For Germany A Story Of Unexpected Regret
May 28, 2025 -
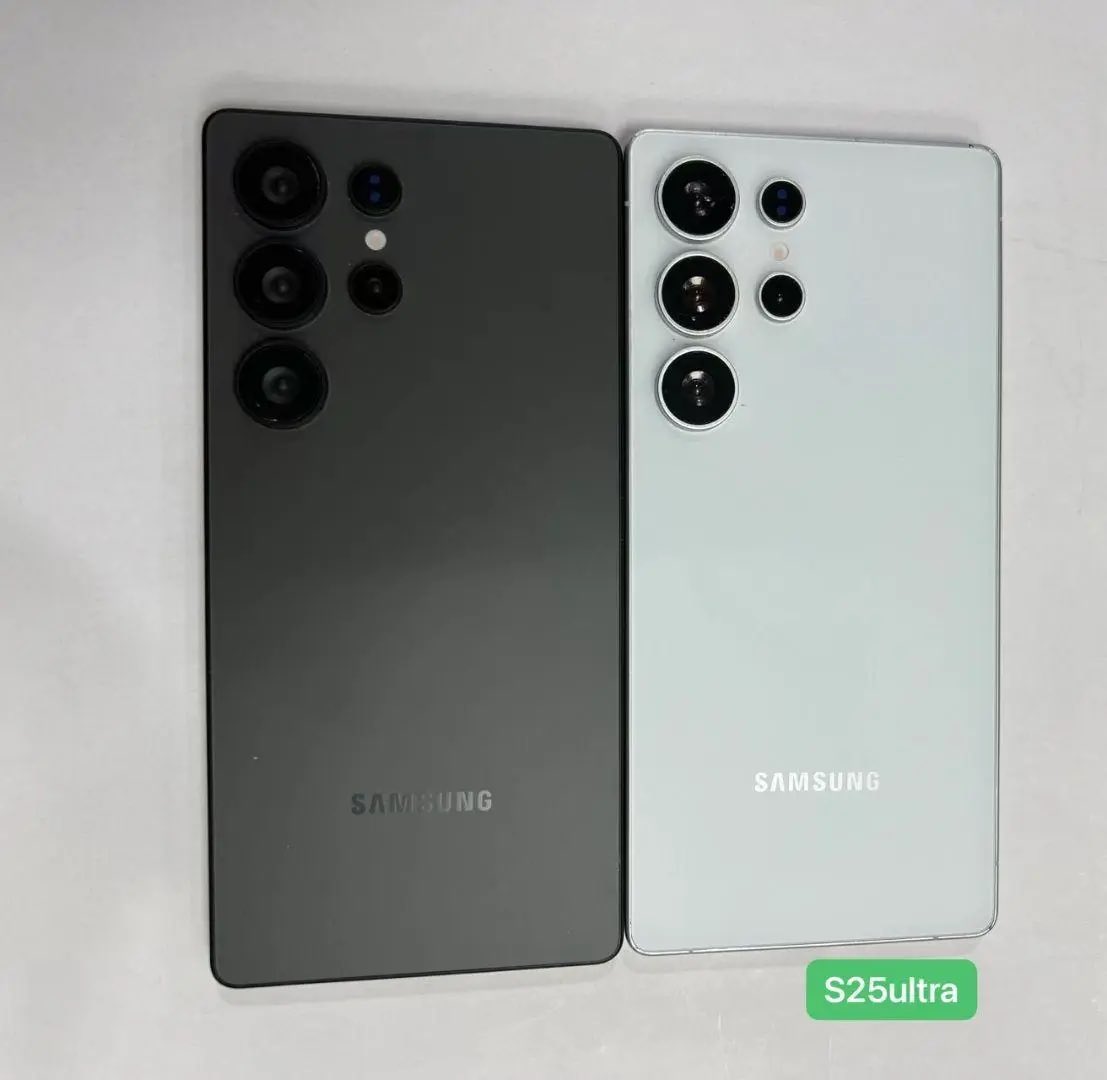 Samsung Galaxy S25 Ultra 256 Go 5 Etoiles Vente Flash En Cours
May 28, 2025
Samsung Galaxy S25 Ultra 256 Go 5 Etoiles Vente Flash En Cours
May 28, 2025 -
 Homeowner Privacy At Risk New Cabinet Rules Raise Data Leak Concerns
May 28, 2025
Homeowner Privacy At Risk New Cabinet Rules Raise Data Leak Concerns
May 28, 2025

